Gehört zu: Computer Audio
Siehe auch: Apple, iTunes, Google Fotos
Benutzt: Fotos von Google Drive
Stand: 29.09.2021
Audio Streaming mit Apple Airport Express
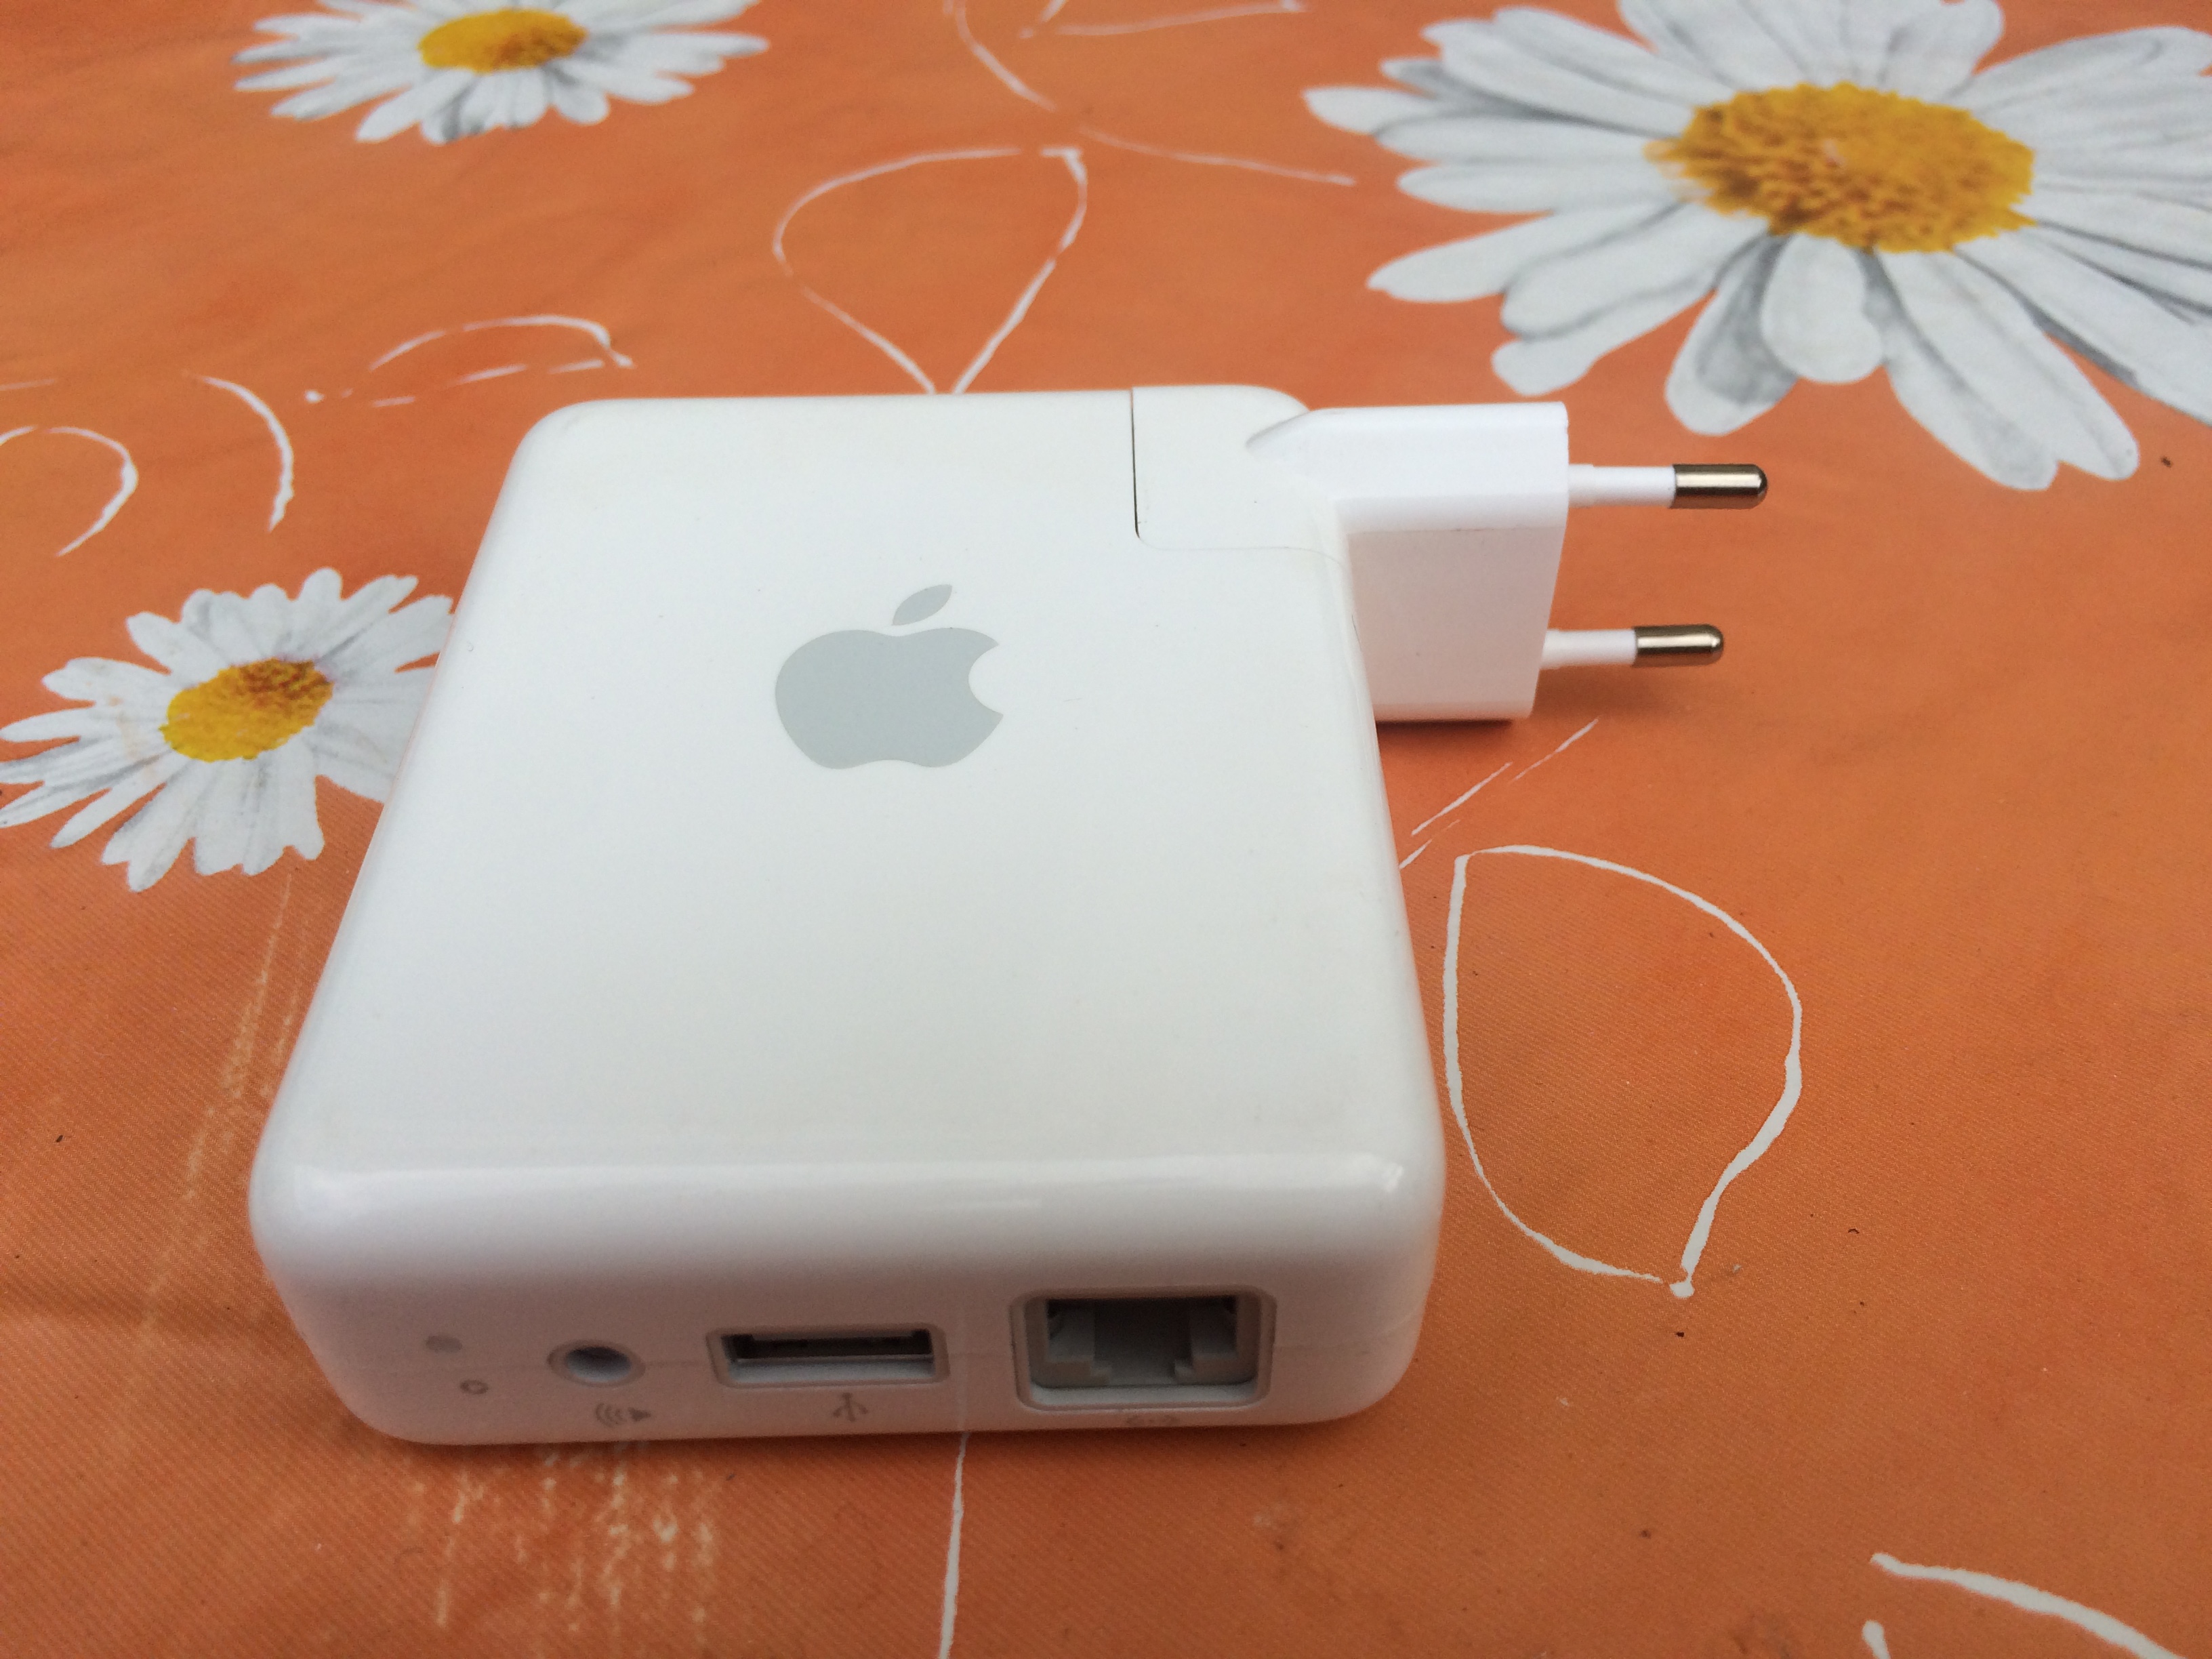
A colleague of mine impressed me with claiming he can play all of his music in all the rooms of his home. The key ingredient of his solution being Apple Airport Expess devices:
Abbildung 1: Apple Airport Express (pCloud: AppleAirportExpress.jpg)

Apple AirportExpress
He has one Airport Express device in each room and connects the audio jack of the airport express device with the existing stereo equipment in that room (I would use active speakers instead).
This solution requires in addition:
- to connect each Airport Express device via cable (or Wi-Fi) to the Ethernet LAN at home
- a Computer (Windows, Mac) in the LAN, runnig iTunes as a streaming server
- an Apple ID
My Usage Scenarios
My Scenario 1: Streaming Audio Client in Hardware only
The device is a very small streaming audio client in hardware, needing no additional computer/tablet with a software streaming client. It’s really a small hardware-only solution audio player, which can directly connected to (active) speakers. The streaming protocol is the Apple proprietory AirPlay.
In that it has some paralells with my old Roku Sound Bridge.
My Scenario 2: Mobile Wireless Access Point
If you need a wirless access point (say in a hotel room) and have an Ethernet cable connextion to the internet only, plug the Ethernet cable into the Airport Express and voilà, you have your WLAN.
Bottom Line
- Scenario 1 (use as a smal hareware-only streaming client): Works excellent
- Scenario 2 (use as a mobile WLAN access point: not yet testet
Step 1: Configure iTunes for Streaming your Songs
iTunes can stream all the contets of the iTumes library to Apple devices in your LAN like:
- Airport Express devices with “AirTunes” activated
- iPhone
- iPad
- Non-Apple devices …???
You can easily test such a steaming iTunes server with your iPhone (assuming you do not have Airport Express in the beginning).
Configuration of iTunes: Home Sharing:
- Use iTunes 10
- Menu: Advanced –> Turn on Home Sharing
- Enter your Apple ID (consider to use that of your iPhone)
- Click on “Create Home Share”
- Remember/Revise the name of your iTunes library (menu –> edit –> preferences –> general –> Library Name)
Test iTunes streaming with your iPhone
I am using iMatch/ iCloud on my iPhone, but when staying at home “Home Sharing” (= Audio Steaming) gives be access to all my content in the iTunes library regardless of the storage capacity of my iPhone (since iMatch does not stream).
Setting up the iPhone as a streaming client for the iTUnes streming server:
- Use the same Apple ID on the iPhone:
- Tap on “Settings”
- Scroll to “Music” an tap on it
- Scroll down to “Home Sharing” and enter Apple ID an password (if not already there)
- Coinfigure your “Music” App
- Tap on the “Music” App
- at the bottom right tap on “More” (the three dots)
- Scroll down to “Shared” (with a little house symbol)
- Select the iTunes libraby by its name, that you previously have prepared for streaming (=”home share”)
Now that you have prooven that your iTunes really wors as a streaming adio server in your LAN, you are ready to try other steaming clients like Airport Express with AirTunes……
Step 2: Configure Airport Express as a Streaming Client
First you have to buy a Airport Express device. Browsing through the information presented on “Airport Express” is absolutely confusing, if you have no previous knowledge. Even a lot of different names are in use in order to describe (or confuse?) the reader.
What really is:
- Apple Airport
- Airport Express
- Airport Espress Basis
- Airport Express Base Station (contains a streming client)
- Airport Extreme Base Station
- Time Machine
- Time Capsule
- Airport Express Base Station 802.11n
- AirTunes
- AirPlay (seems to be a propietory streming protocol)
…what is all this stuff for…? If there is a “Base Station” are the “Non-Base Stations” also…?
May be this helps: http://www.apple.com/support/airport
I guess what I need to start with is a device called “Airport Express Base Station with 802.11n”.
This Airort Express device has to be connected to:
- 220V power by pluging it into a normal power outlet (that should be close to an Ethernet and cluse to your stereo amplifier)
- to your existing LAN
- via a Ethernet RJ14 cable to a switch, DSL-Modem or exisitent Ethernet plug in the room
- or via WLAN (Wi-Fi)
The Airport Express device now offers three services:
- Wireless Access Point (not used for my purpose of streaming)
- USB to connect a printer, an external disk etc. – USB-Speakers are not supporrted – (not used for my purose of streaming)
- 3.5 mm audio jack (with optical-digital audio) – use this to connect the device with the stereo amplifyer or with active speakers.
Step 3: Remote Control for iTunes Streaming
In order to really enjoy such a technical solution, you need a Remote Control to select songs an playlist on your iTunes streaming server — like perhaps an iPhone App….
Non-Apple AirPlay Destinations
http://lifehacker.com/5802958/how-to-make-your-entire-home-airplay+compatible
Streaming to Android:
If you’d like to stream music to music on your Android phone, a simple app calledAirBubble will set it up as an AirPlay destination. Just install the app (you’ll need to make sure “Unknown Sources” is checked under Android’s Settings > Applications), start it up, and you’ll see “AirBubble” show up as an AirPlay destination in iTunes, iOS, and other streaming devices. You can then stream that music right to your phone as you would to anything else. Sadly, it does not stream video at this time.
Active Speakers
X-mini
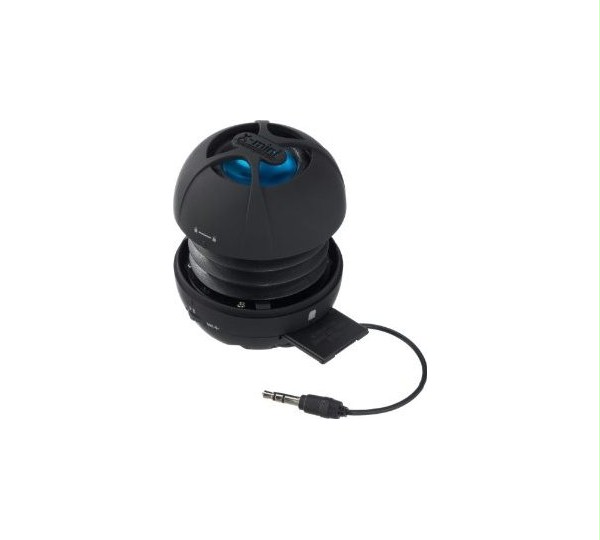
From my last vacations I have “the smallest active speaker of the world”:X-mini™ v1.1 Capsule Speaker™. It gets its power from a built-in battery and/or via a USB cable which nicely can be plugged into the USB of the Airport Express.
Abbildung 2: X-mini Capsule Speaker (pCloud: x-mini-322633.jpg)

x-mini Capsule Speaker
With this tiny active speaker I could well test my AirTunes Express device in different location in my flat – especially whether the cableless connection via Wi-Fi (WLAN) to my LAN is stable.
http://www.x-mini.com/products-detail.aspx?sid=4
Bose Speakers at my TV Set
xxx

